Hi everyone!
I hope you are as excited about the new Scrappy Tails release as I am. I love interactive cards and the new snow globe dies with spinner elements are just amazing and make it so easy to put together an interactive card.
For my card today I decided to use the Slimline Snow Globe Die with Spinner element and combined it with Slimline Snow Village Spinner die and some of the Snowflakes from the A7 Snow Globe Die with Spinner Elements and the A7 Intricate Snowflake Spinner die.
To make the card I started by cutting a total of 4 frames for my base. One of them is light pink (this will go in front) and the rest are white. I used heavy weight card stock for all of the 4 frames. Using a piercing slimline die from my stash I added some texture to the pink piece which will be on the front of the card. Next I adhered the layers together ( 2 at a time, you need 2 frames). Set aside to dry.
I cut the connecting pieces (1 base, 2 sides and 1 top) from lighter weight white card stock and scored along the lines). Die cut snowflakes from white glitter cardstock. Set aside. Stamp and die cut sentiment and set aside, too.
Die cut the spinner element. Cut 2 snow villages from glitter cardstock and also cut the individual houses, trees and lamp posts from card stock colors of your choice.
Die cut the smaller spinner element from the Slimline Snow globe die 4 times, 2 from Waterfall card stock and 2 from White. Stamp snowfall on the Waterfall pieces using white craft ink, set aside to dry. Adhere together 1 white and 1 Waterfall piece, do the same with the remaining. Add the Snow Villages Frames on top, then adhere the little houses, trees and lamp posts. Let it dry.
Assemble the Snow Globe frame using the connecting pieces. Add sentiment and snowflakes on the top of the snow globe.
Using silver tread, assemble the spinner piece and secure it on top of the snow globe.
Supplies:
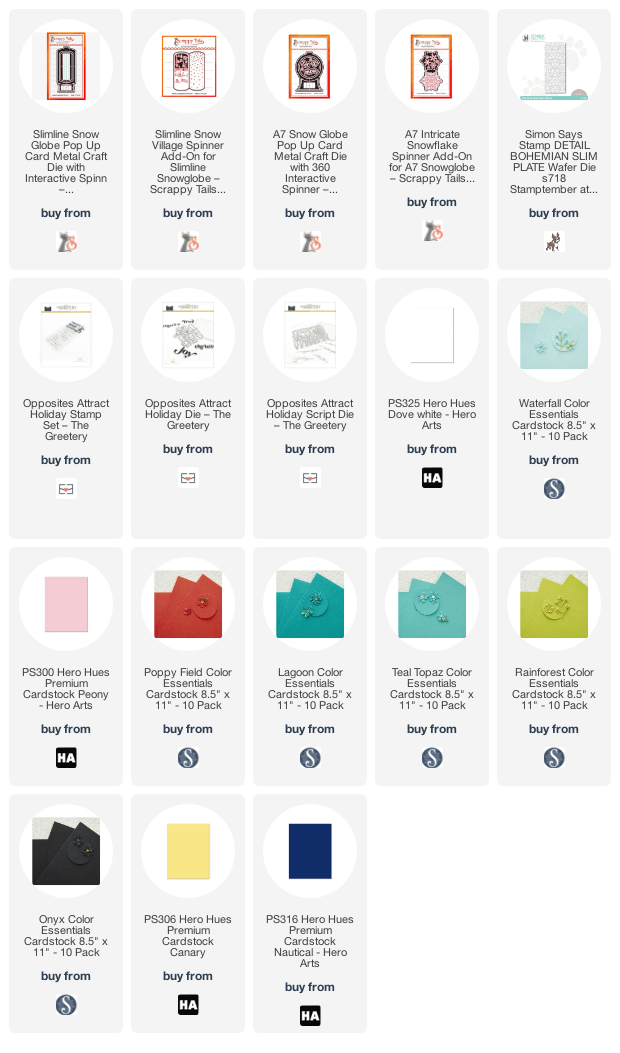
Want to find the products I used? I have listed them below. (Compensated affiliate links may be used at no cost to you. Thank you for your support! Click on the icons below each product picture to go to a favorite store.)


Comments
Post a Comment