Let's take a look at the main kit!
Here are the contents of this month's kit:
6x8 Clear Set
10 Frame Cuts
3 Fancy Dies
6 sheets 5x7 decorative paper: 3 assorted styles 2 of each
1 Thick Lacquer Pen
1 Silver Embossing Powder 0.5 oz
1 Unicorn white Ink Cube
10 Frame Cuts
3 Fancy Dies
6 sheets 5x7 decorative paper: 3 assorted styles 2 of each
1 Thick Lacquer Pen
1 Silver Embossing Powder 0.5 oz
1 Unicorn white Ink Cube
This kit is an incredible deal with so many goodies in it that the value is $70 but the cost to you is $34.99.
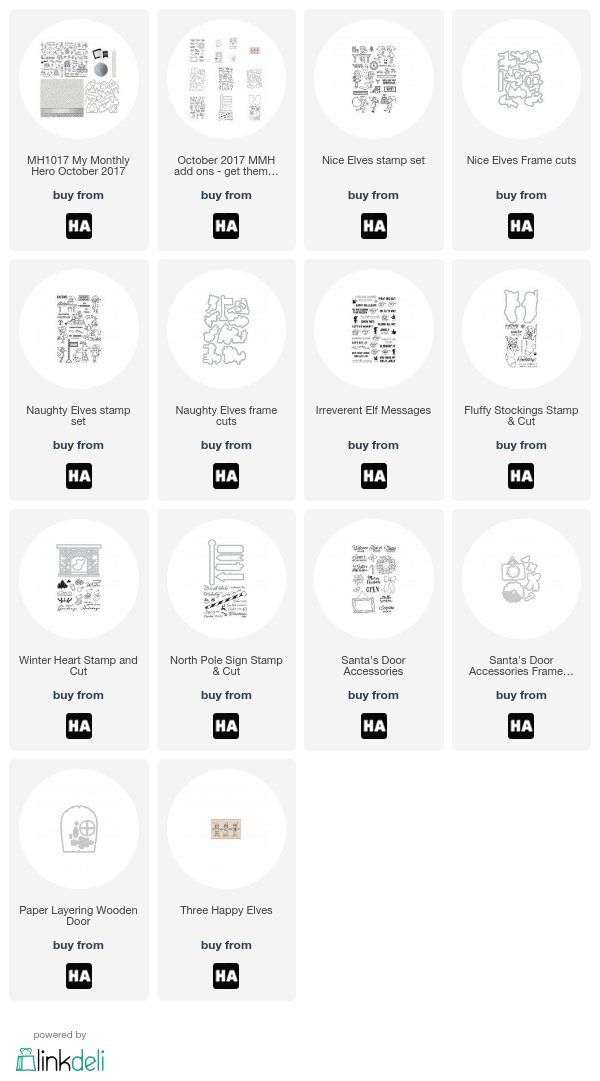
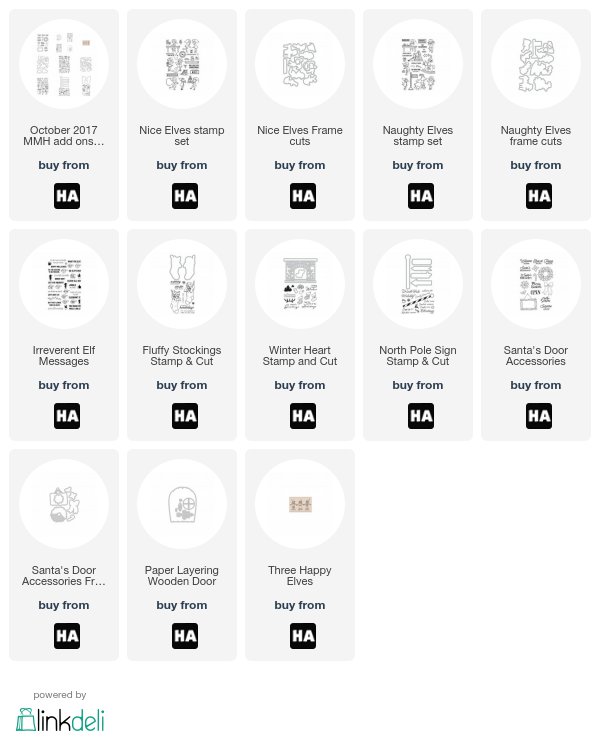
We also have wonderful, optional add-on products this month --4 stamp sets, 3 Coordinating Frame Cuts, 1 Layering die. 1 wood mounted stamp, and 3 Stamp 'n Cut sets! First we have the Nice Elves stamp set and coordinating Nice Elves Frame Cuts. These images are so cute and will bring a smile to anyone's face.
Now, you have probably arrived here from Amy's blog, and if you haven't trust me you don't want to miss her amazing projects. So go back to her blog or start from the beginning(the Hero Arts blog) and if you arrived here from her blog, then you are on the right track and your next stop will be Michelle's blof(and you don't want to miss her project, either).
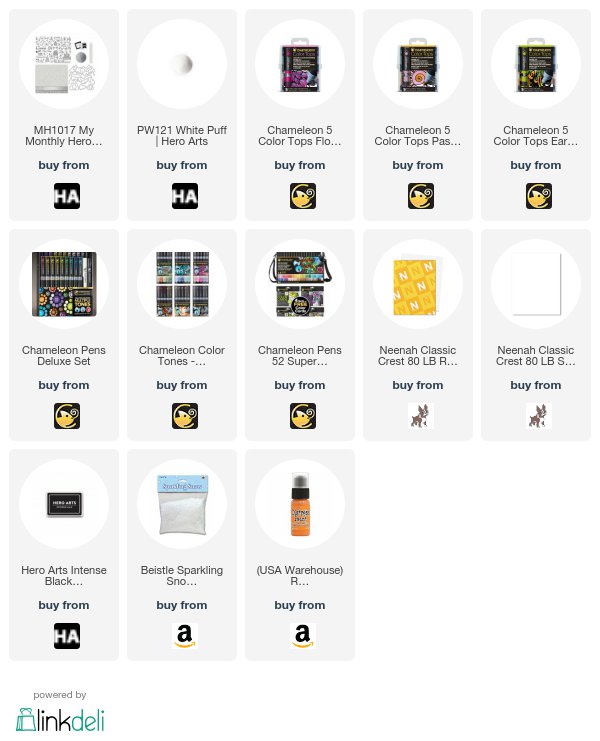
Now onto my projects. The first one is a snow globe. I purchased the globe from a local craft store and it's perfect for this kit. I stamped each image twice and colored with chameleon pens. Next I adhered the North Pole station back to back (the image is symethical) and used acetate in the middle to adhere it to the bottom of the globe on which I adhered circle from one of the papers from the kit. I did same with the sleigh. I adhered Santa Clause and Mrs Clause using mounting tape to the house. I sprinkled some white pain inside the globe, let it dry and added artificial snow and frost sequins. I closed the globe. I added strip of the fancy paper around the lid to it looks nicer and on piece of Blush layering papers stamped the sentiment with Versamark and embossed with white embossing powder. Voila :)
Now I have few cards. For the first one I stamped the images onto white card stock with Intense black ink and colored with Chameleon Pens and Color tops. Next I die cut them. I created the scene using white glitter paper and white card stock that I spayed with Sparkle Shimmer spray. I added vellum to the bottom. I stamped the sentiment with Versamark and embossed with Rose Gold embossing powder. I adhered my scene to Navy top folding note card and sprayed again with the shimmer spray.
For my next card I stamped the images onto white card stock using Intense Black ink and colored again with Chameleon Pens and color tops. I trimmed my panel down to 5" x 3 3/4" and adhered to Navy base. I stamped the sentiment onto Navy card stock with Versamark and embossed with white embossing powder. Cut with circle infinity dies and adhered to my card. ;)
Now look at some of the add ons. For this card I used the Nice Elves set and matching frame cuts. I stamped the elves on white card stock and colored with Chameleon pens and color tops. Then die cut them using the matching frame cuts. I cut a circle from vellum and stamped the sentiment with Versamark and embossed with Platinum embossing powder. I used one of the fancy papers from the kit to adhere them onto. Then adhered my panel to a blush note card.
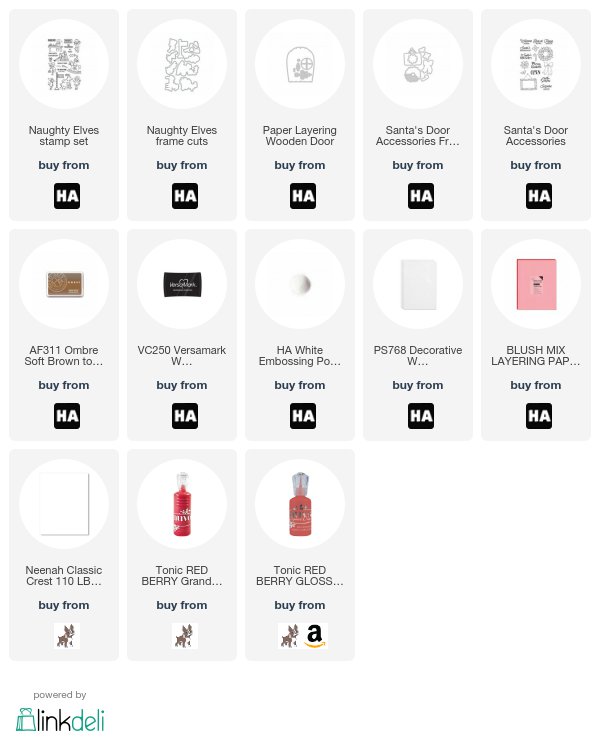
And now it's time for the naughty elves. I used some woodgrain card stock to cut the Paper Layering wooden door and then added some of the accessories. I stamped the elf with intense black ink and colored with Chameleon pens and color tops. I adhered the panel with the door onto white card base using dimensional tape. I adhered the elf inside and stamped the sentiment. I stamped the sign from the Santa's door accessories set and cut using the coordinating frame cuts. I adhered it to the door to finish of my card.
Full blog hop list:
Ilina Crouse -that's ME
Giveaway: We are giving away one kit as a prize to one blog reader - selected from the comments across all of the blogs in the hop. (We will reimburse them if they have already bought the kit) Giveaway closes Monday, 10/08 at 11:59pm, and the winner will be announced the following week.Kit availability and shipping: The kit is available for a limited time only - once it's gone, it's gone. Kits begin shipping from Hero Arts on Friday October 6th. In order to not miss a kit, you can get a subscription (it's the way to go, trust me)












Comments
Hugs,
Jo in Jersey
Love your stunning projects!!! Your snow globe is totally breathless!!!!
within this kit. Your cards are beautiful! That elf is adorable; love the
door die. And your Snow Globe is stunning!!
Diane Brown.
..
a jar in the trash and then remembered
that I wanted to keep it for just such
a project. I'm so glad I did.
thanks for the idea.
God bless!
Post a Comment